
Back to helpGuide
Manage several properties in one portal
All buildings run in one organisation, each stairwell is a placement of its own. Tags decide which notices appear in which building.
As a video
The video has no sound, the steps appear in it as subtitles.
Step by step
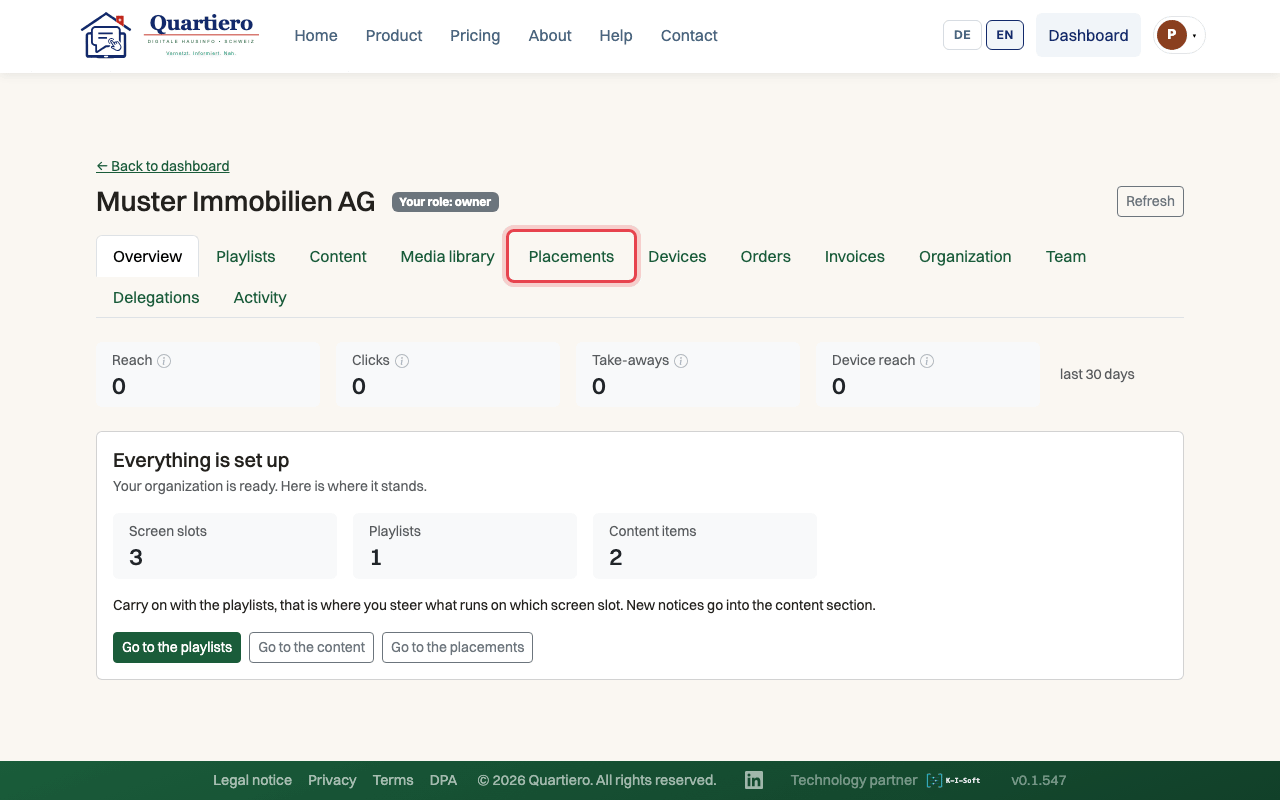
Step 1: In the “Placements” tab, add one placement for each stairwell.
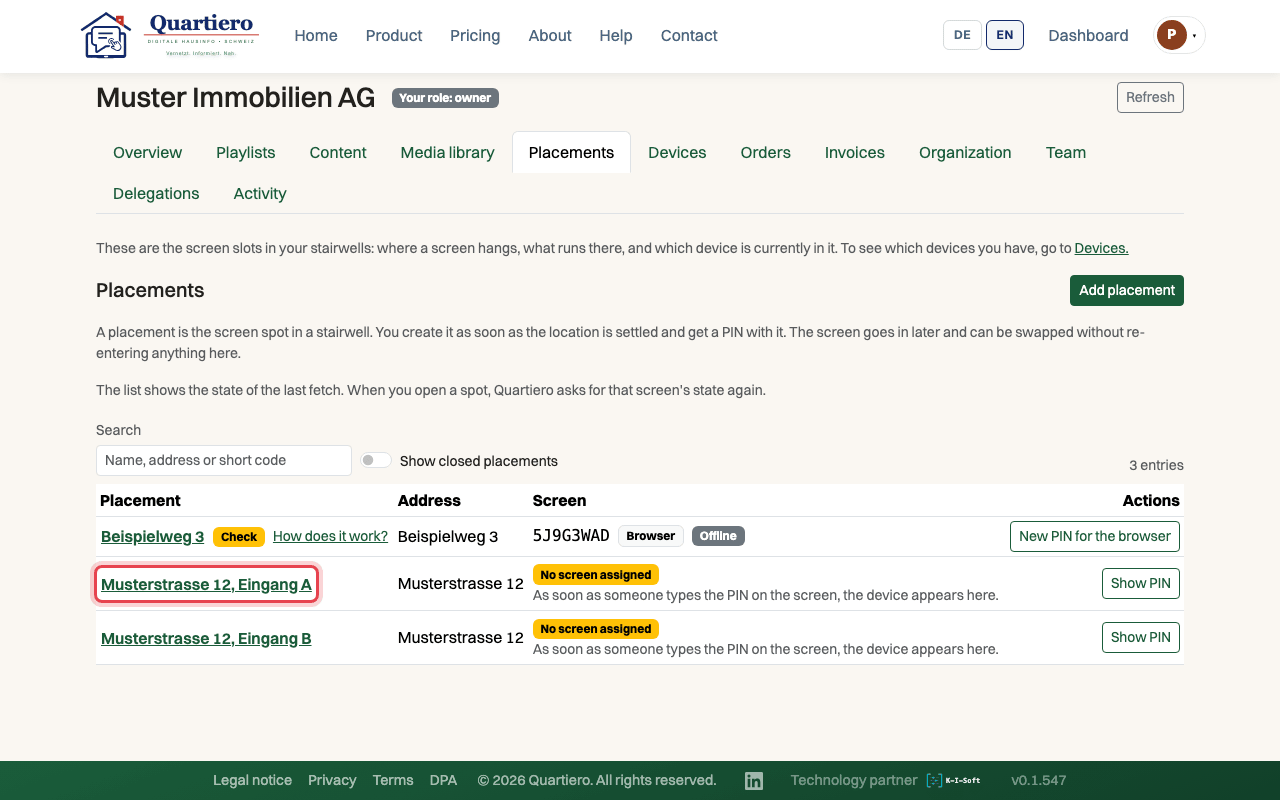
Step 2: Open a placement and click “Edit spot”.
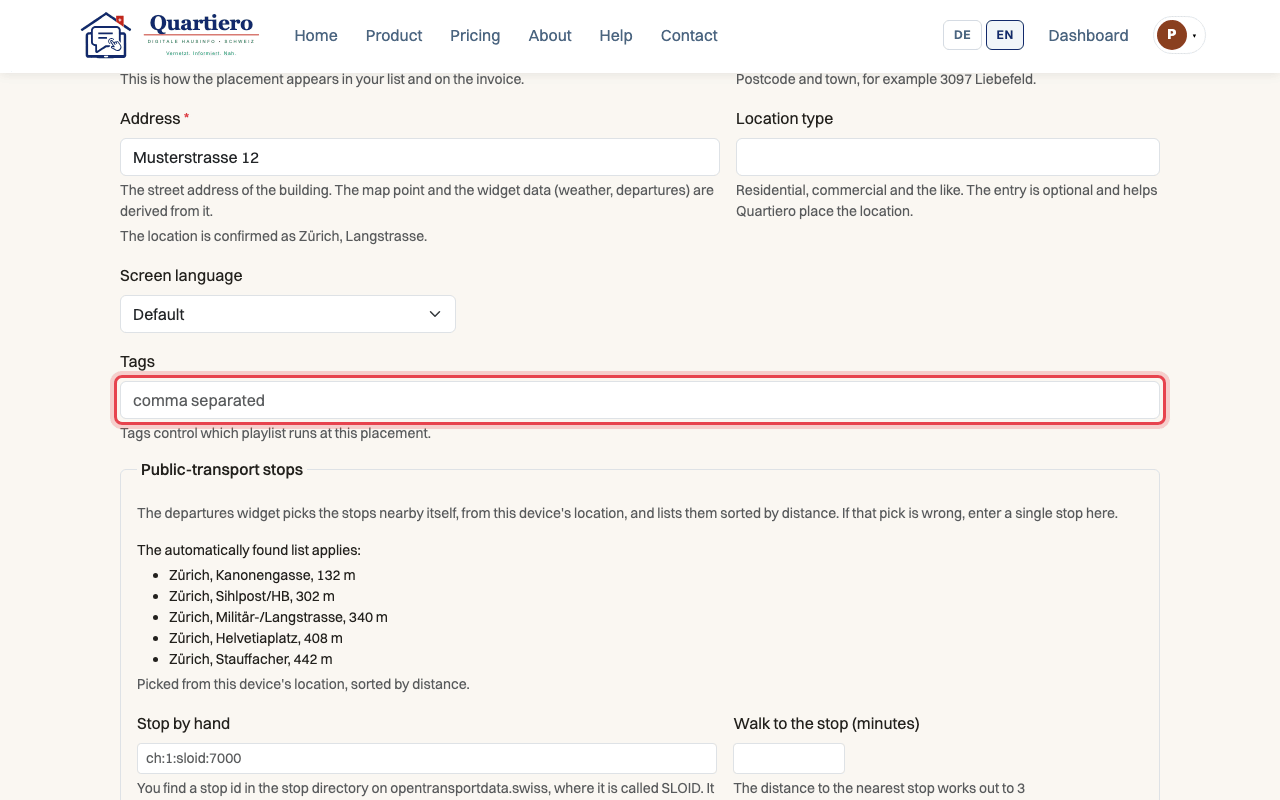
Step 3: Enter the property under “Tags” and save.
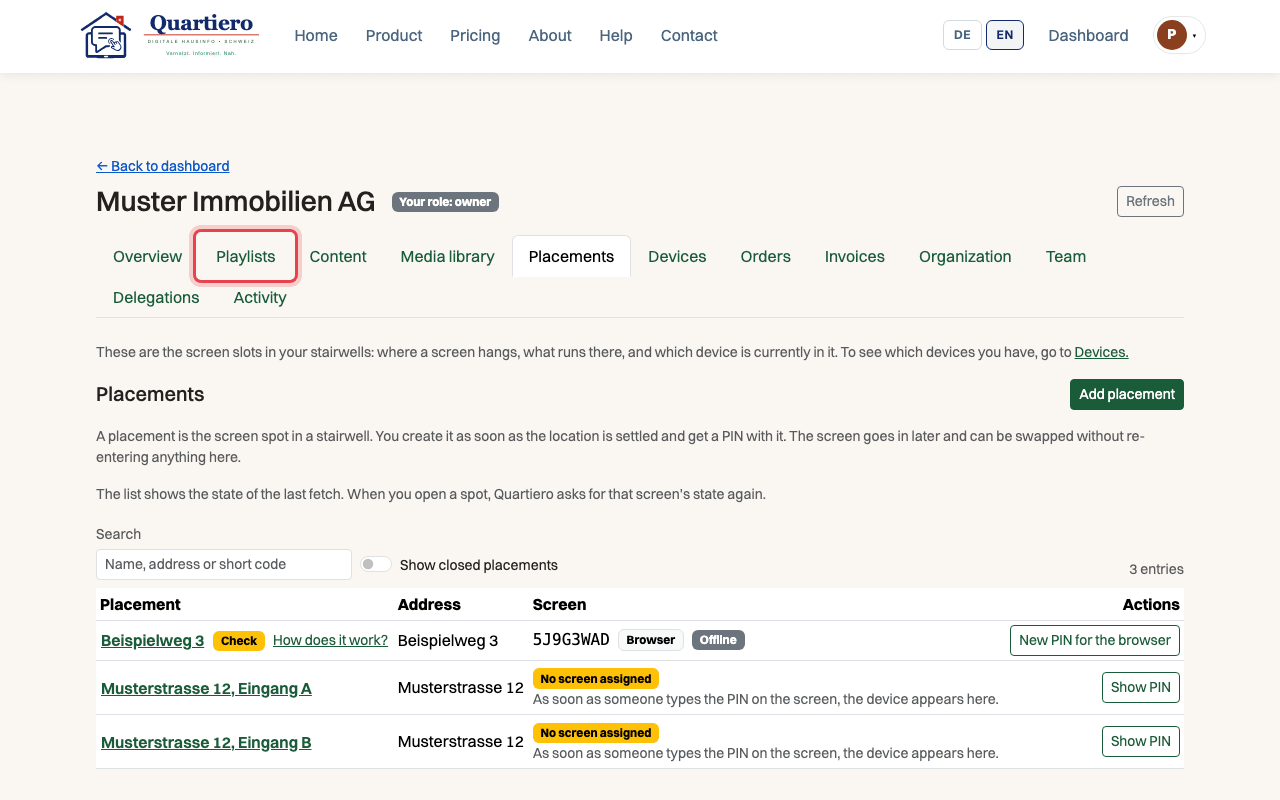
Step 4: In the “Playlists” tab, click “New playlist”.
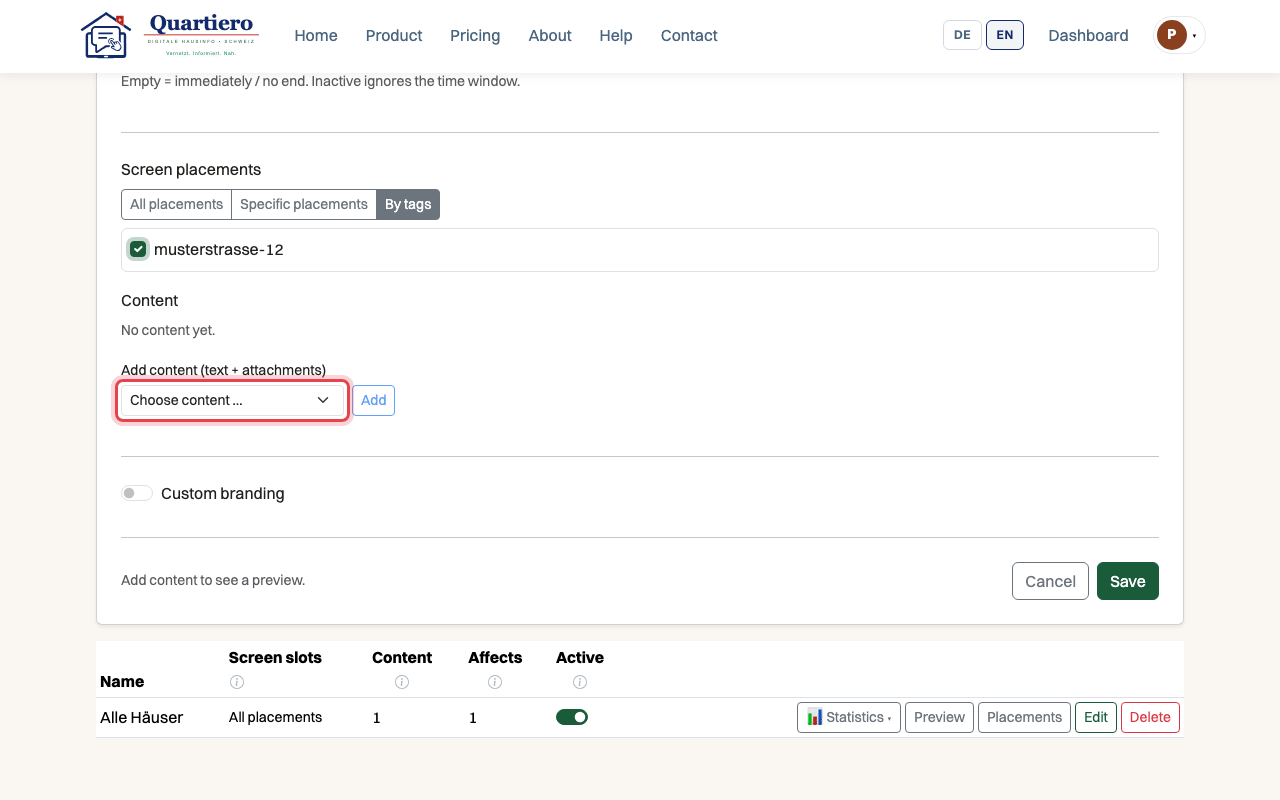
Step 5: Under “Screen placements”, choose “By tags” and the property.
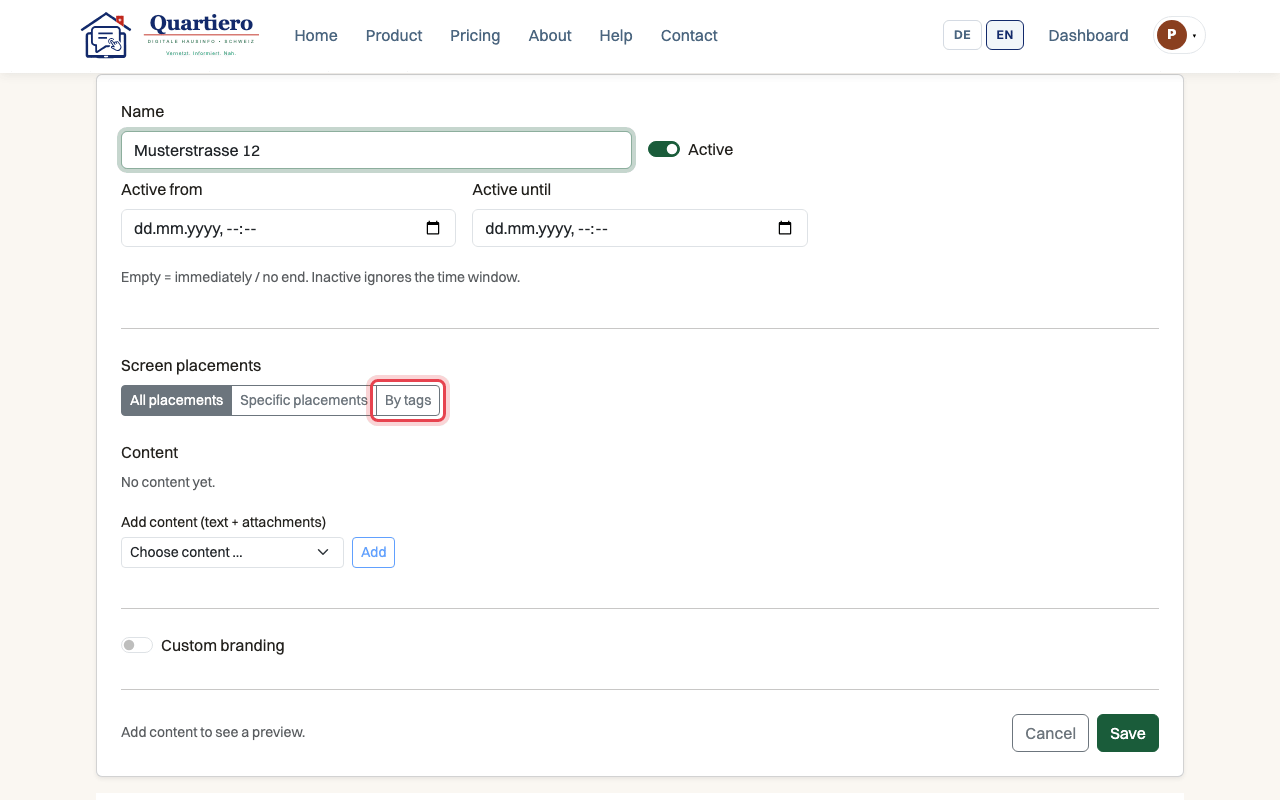
Step 6: Add the content for this building and save.
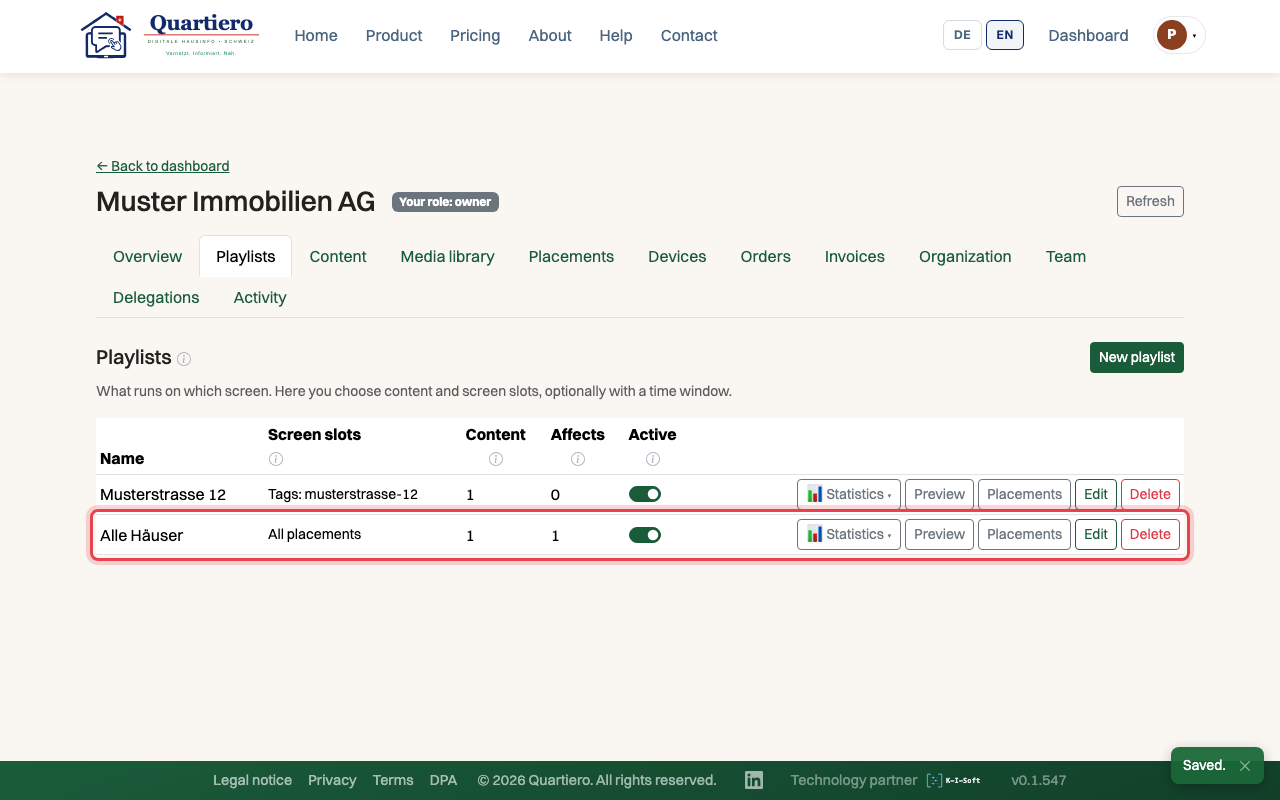
Step 7: What applies to every building goes into a playlist for “All placements”.
Stuck at some point? Then write through the contact page. Get in touch